
The classic: name, email and a message. Submitting it sends you a notification email and the visitor an automatic reply.
Try it
Fill it in with your own email address to receive the automatic reply.
How it’s built
In your WordPress admin, open Epic Forms → Forms & Submissions and click Create Form. Give it a name you’ll recognise later.
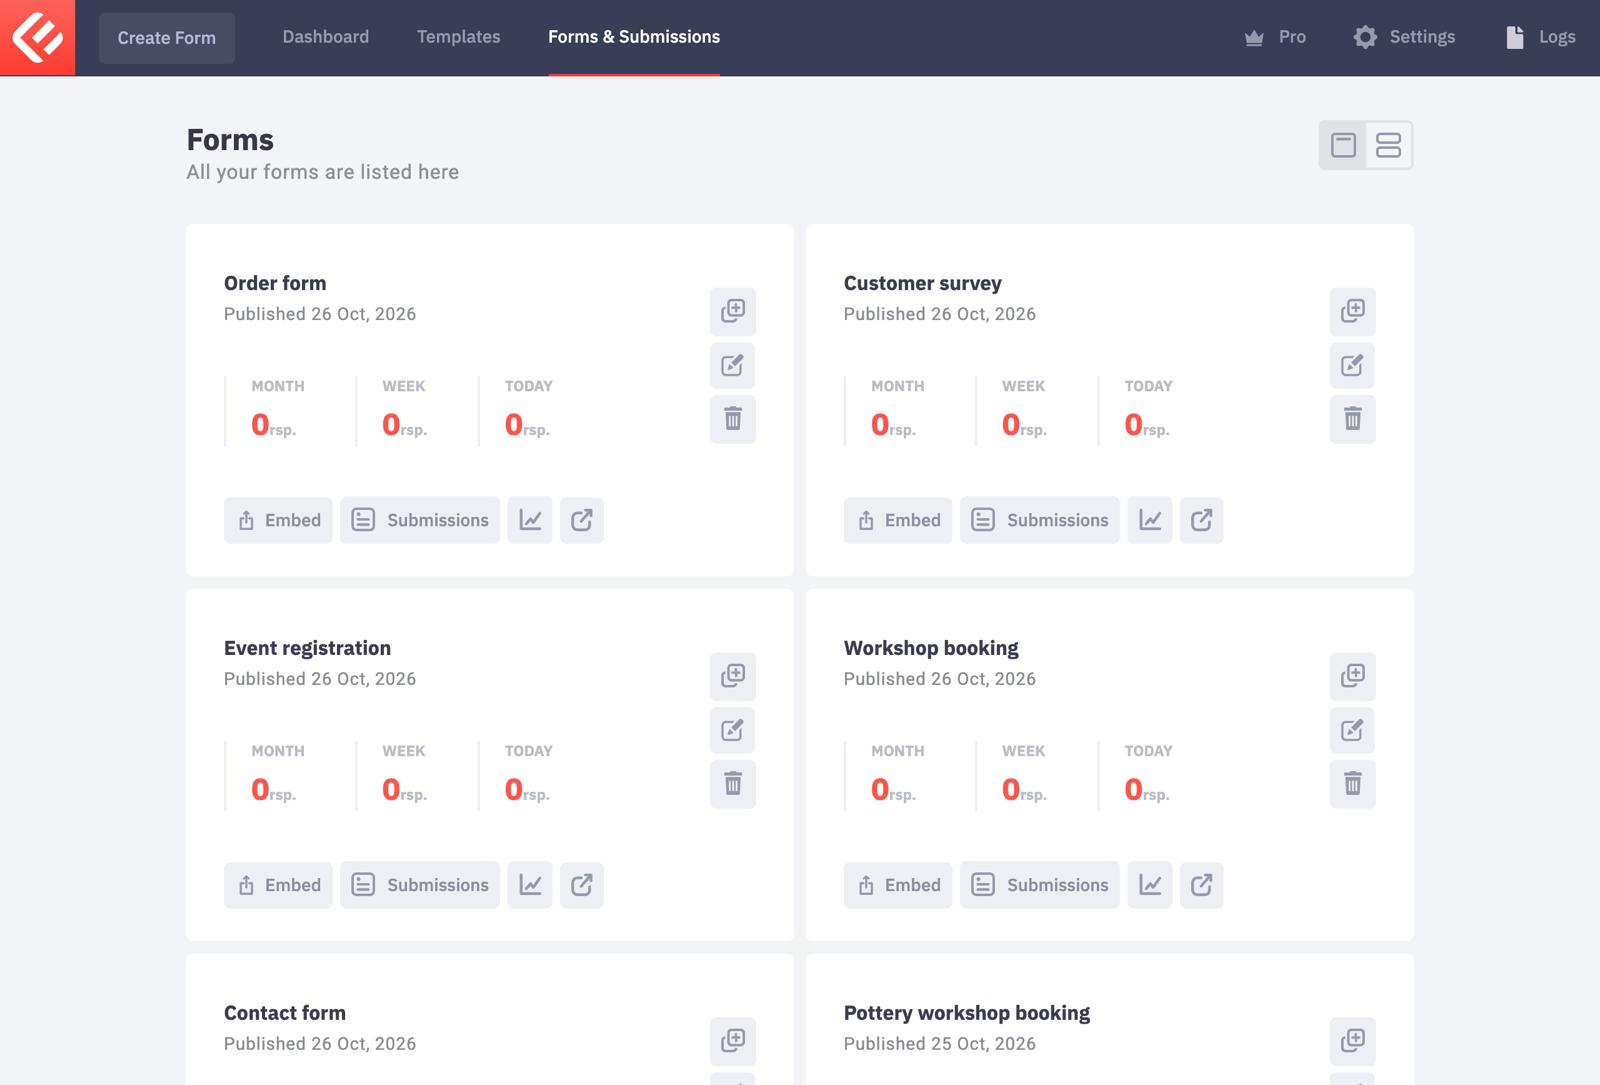
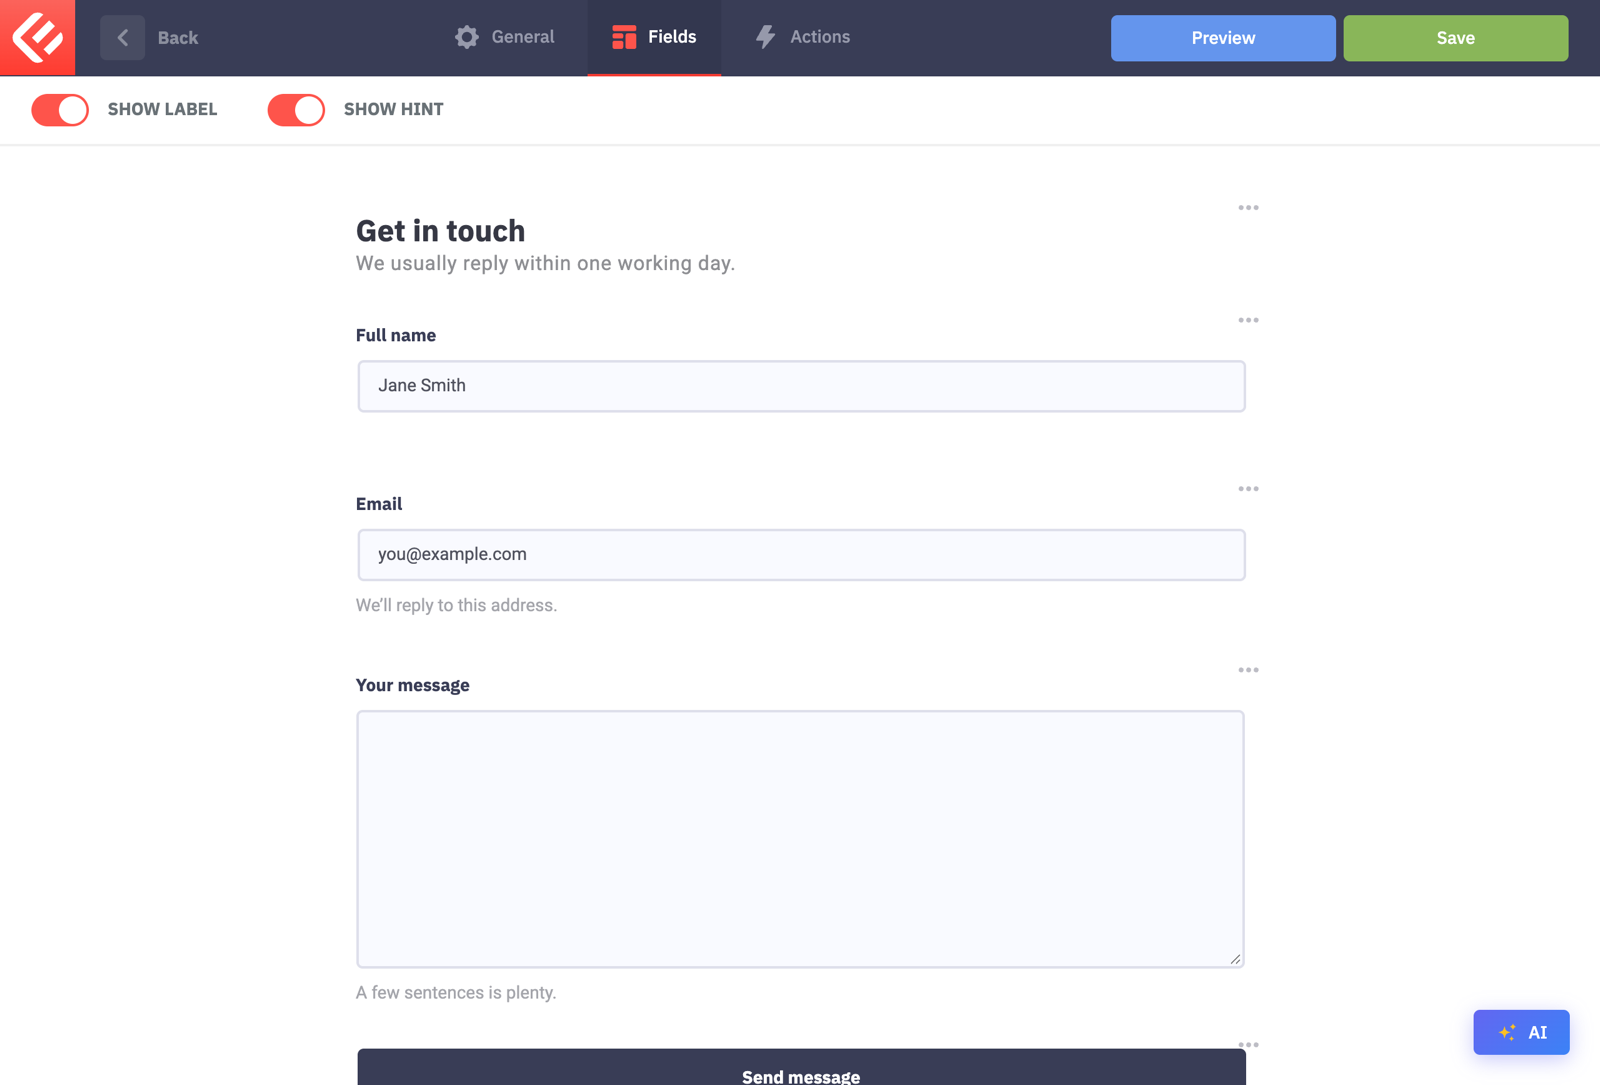
On the Fields tab, click Add Field to open Form Components, and add a Title, then Full Name, Email and Paragraph fields, and a Submit Button. Drag them into the order you want.
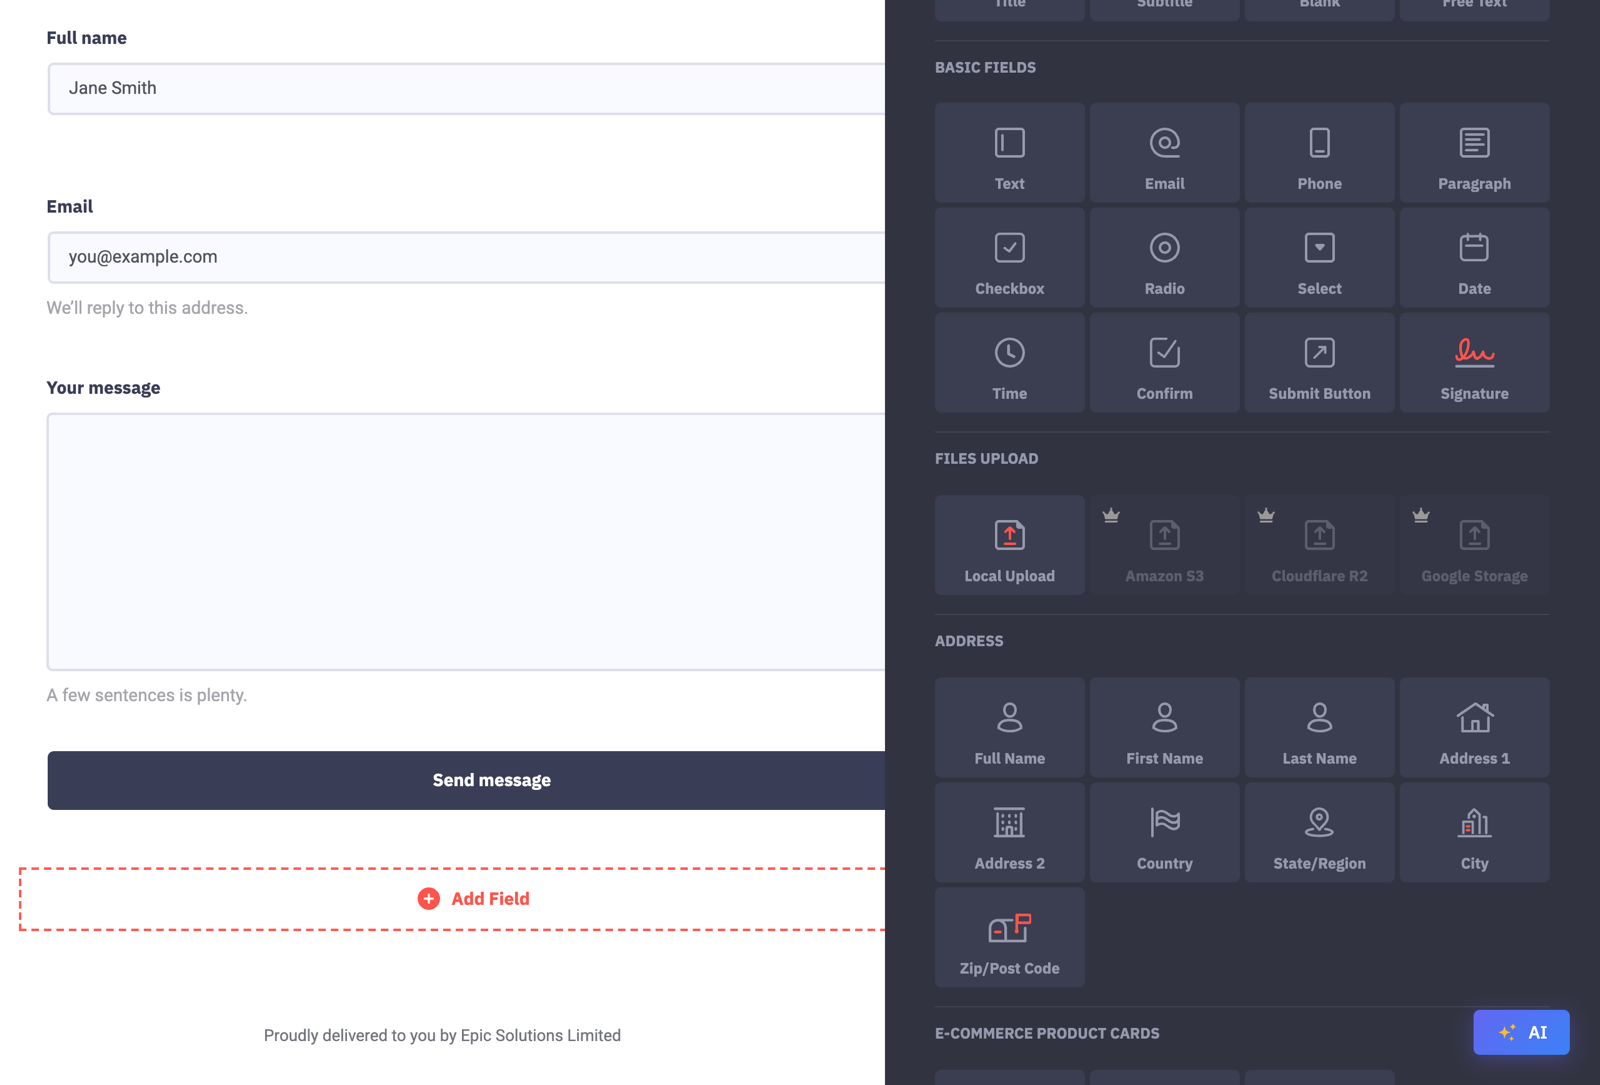
Click a field to open its settings. In the General section, change the label, and add a placeholder (the grey example text inside the box) and a hint (the small help text under it).
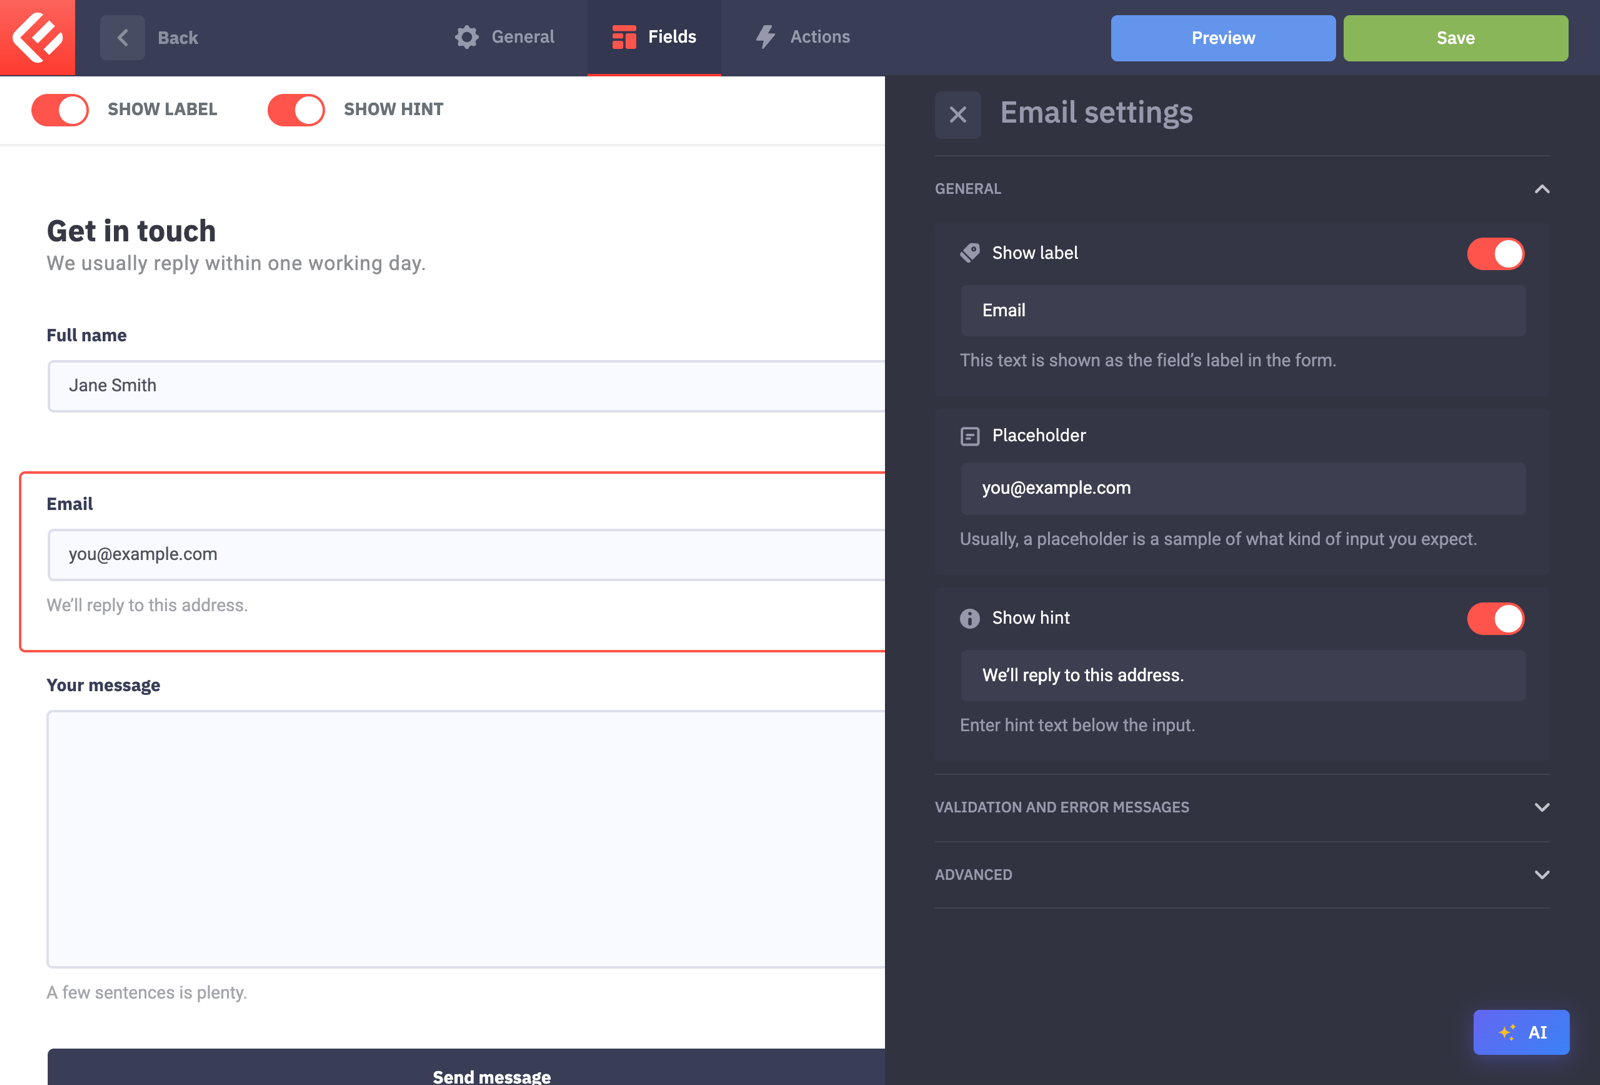
In the Validation and error messages section, switch on Required so the form can’t be sent without it, and write the error message people see if they leave it empty. Do this for all three fields.
In the Advanced section, give each field a Data tag, a short name such as
name,emailandmessage. You’ll use these tags in emails.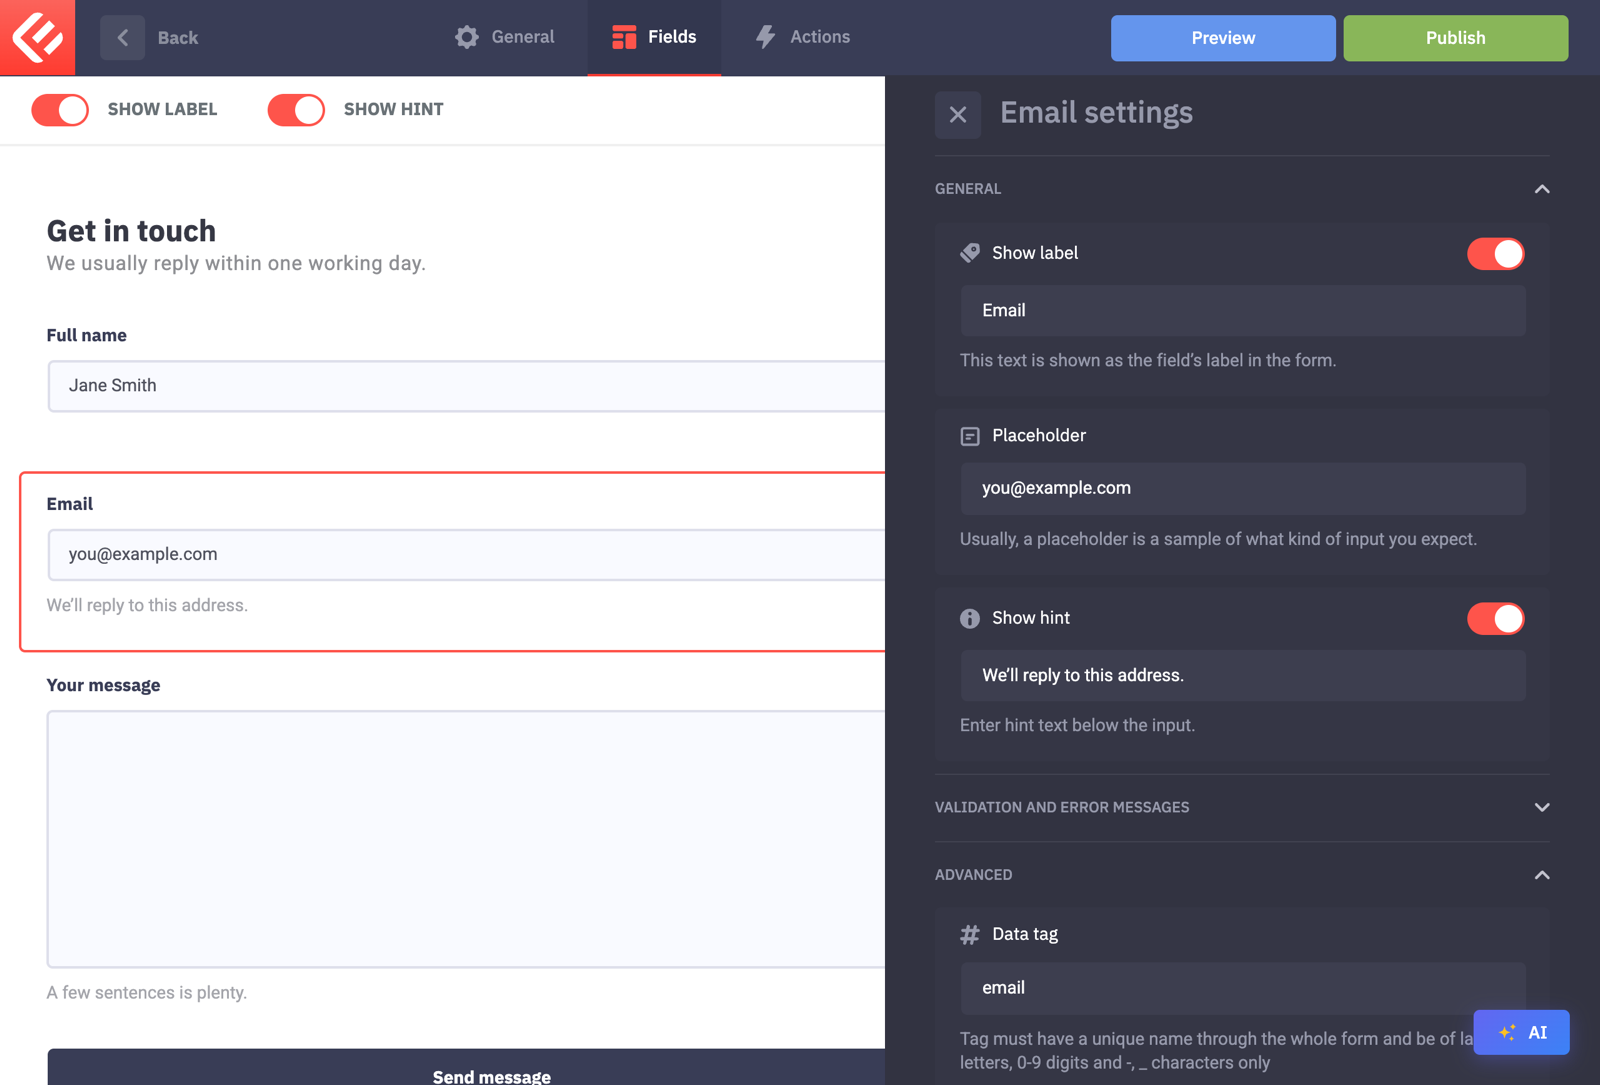
Open the Actions tab, click Add Action and add a Notification. Enter your address in To Email and a subject. In the body, type
#and pick a tag: it is replaced with the visitor’s answer.#submissioninserts every answer at once.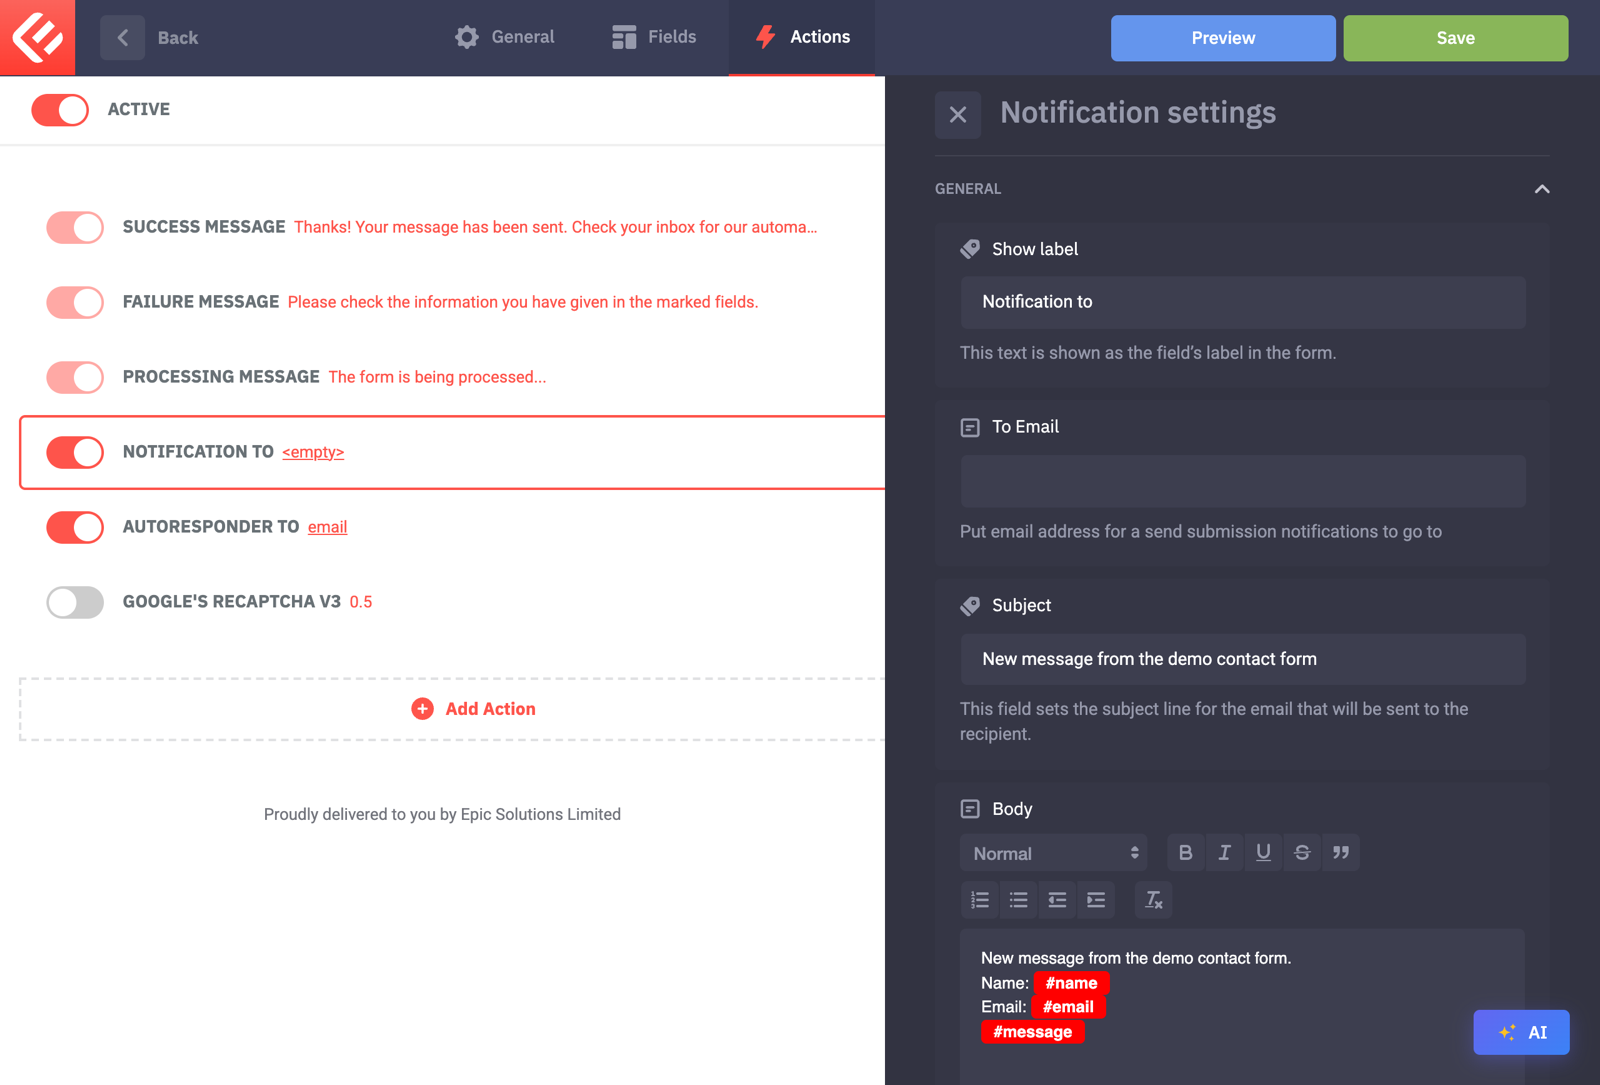
Add an Autoresponder (Epic Forms Pro) to reply to the visitor automatically. Choose the form’s Email field in To Email, then write the subject and message.

Edit the Success message: the thank-you text visitors see after sending.
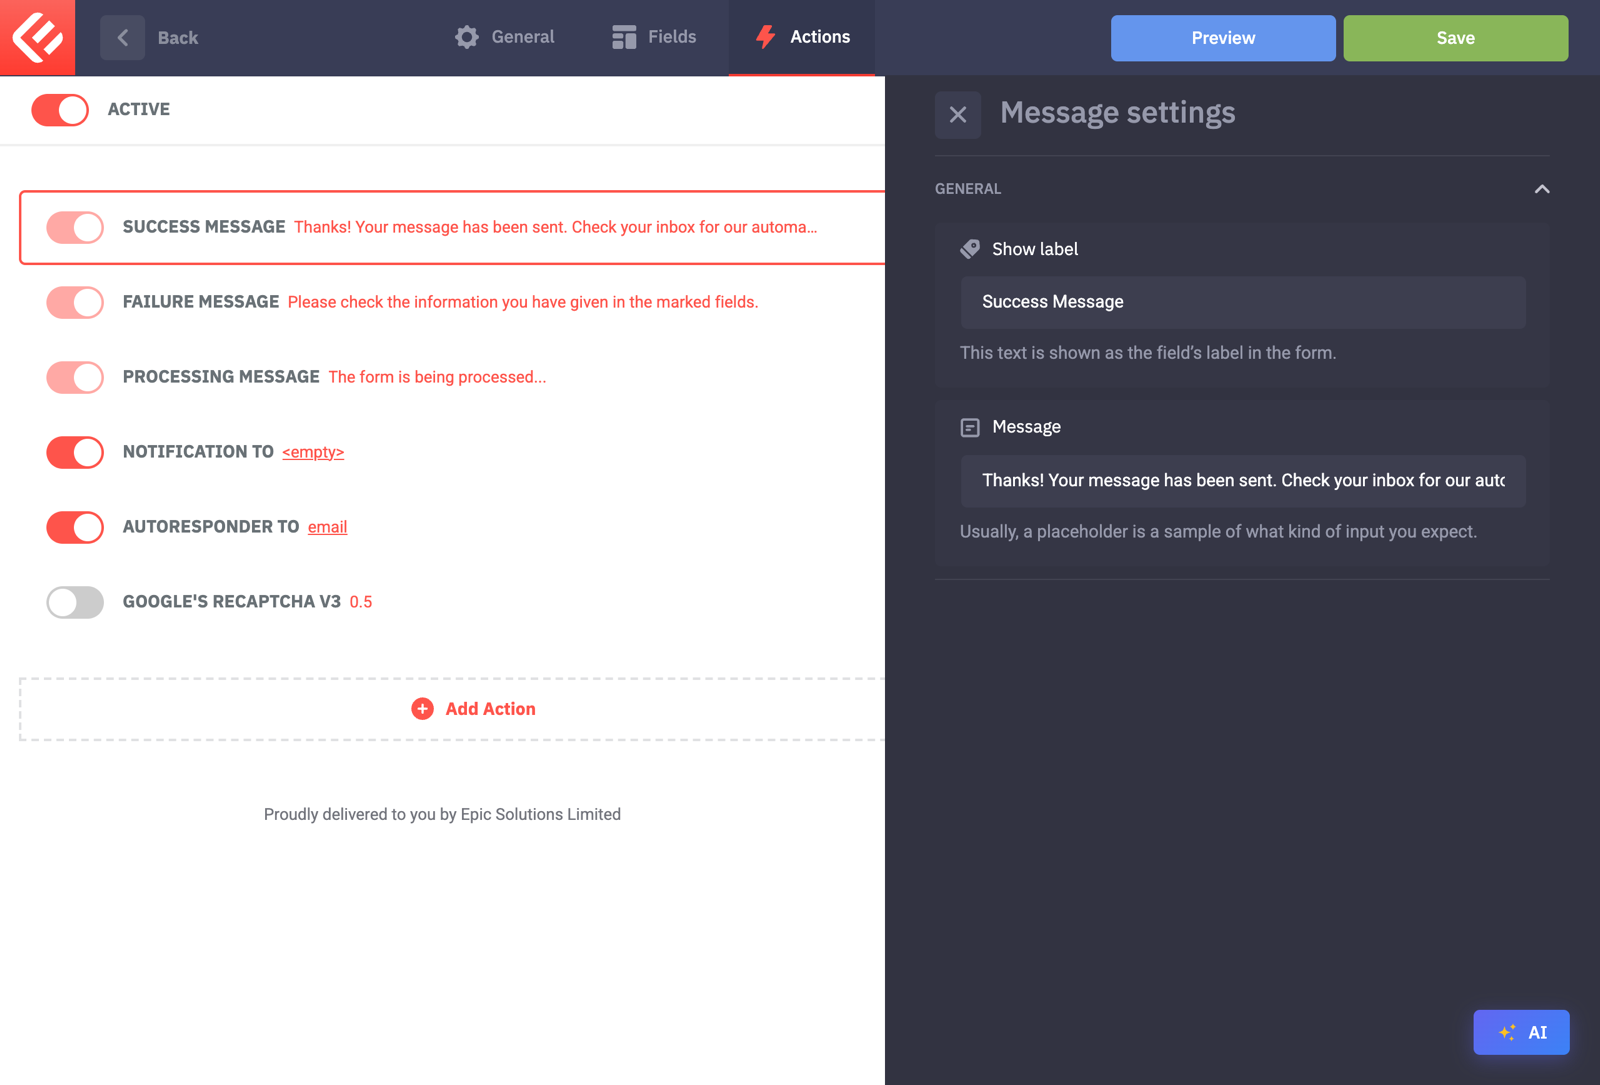
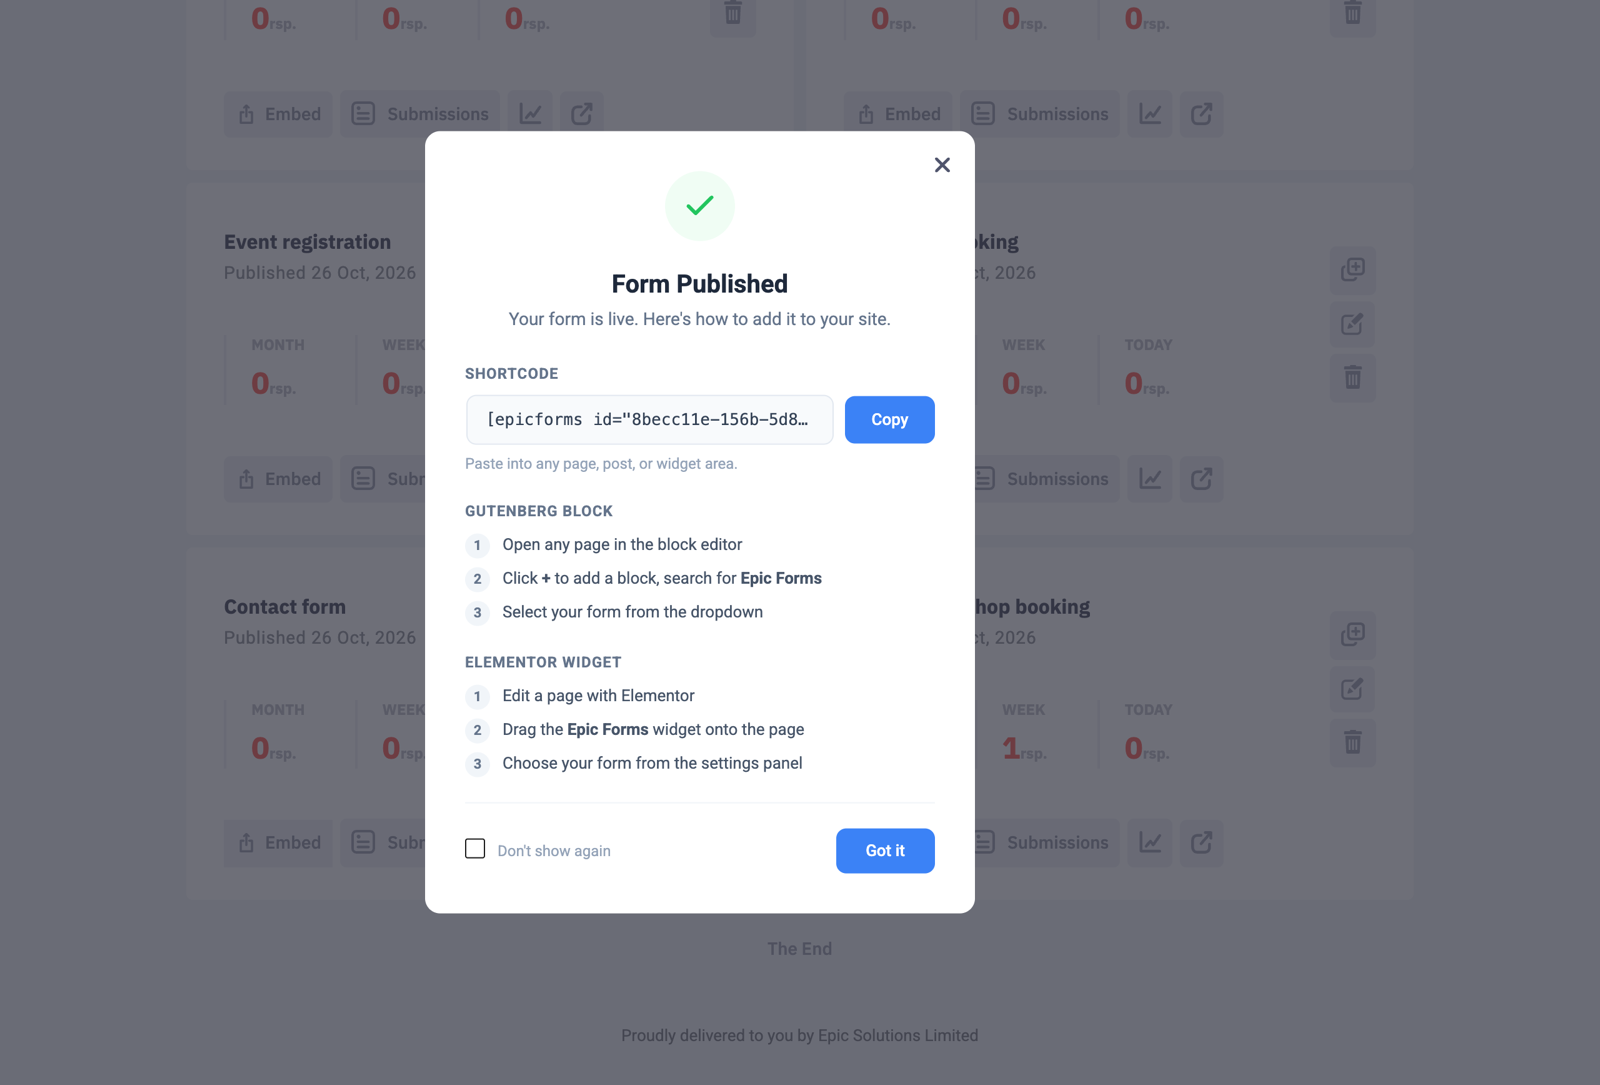
Click Save to keep your changes, then Publish. Visitors only see a form once it’s published.
Put the form on a page: in Forms & Submissions click Embed on your form’s card. Copy the shortcode into any page, or add the Epic Forms block in the block editor and choose your form.
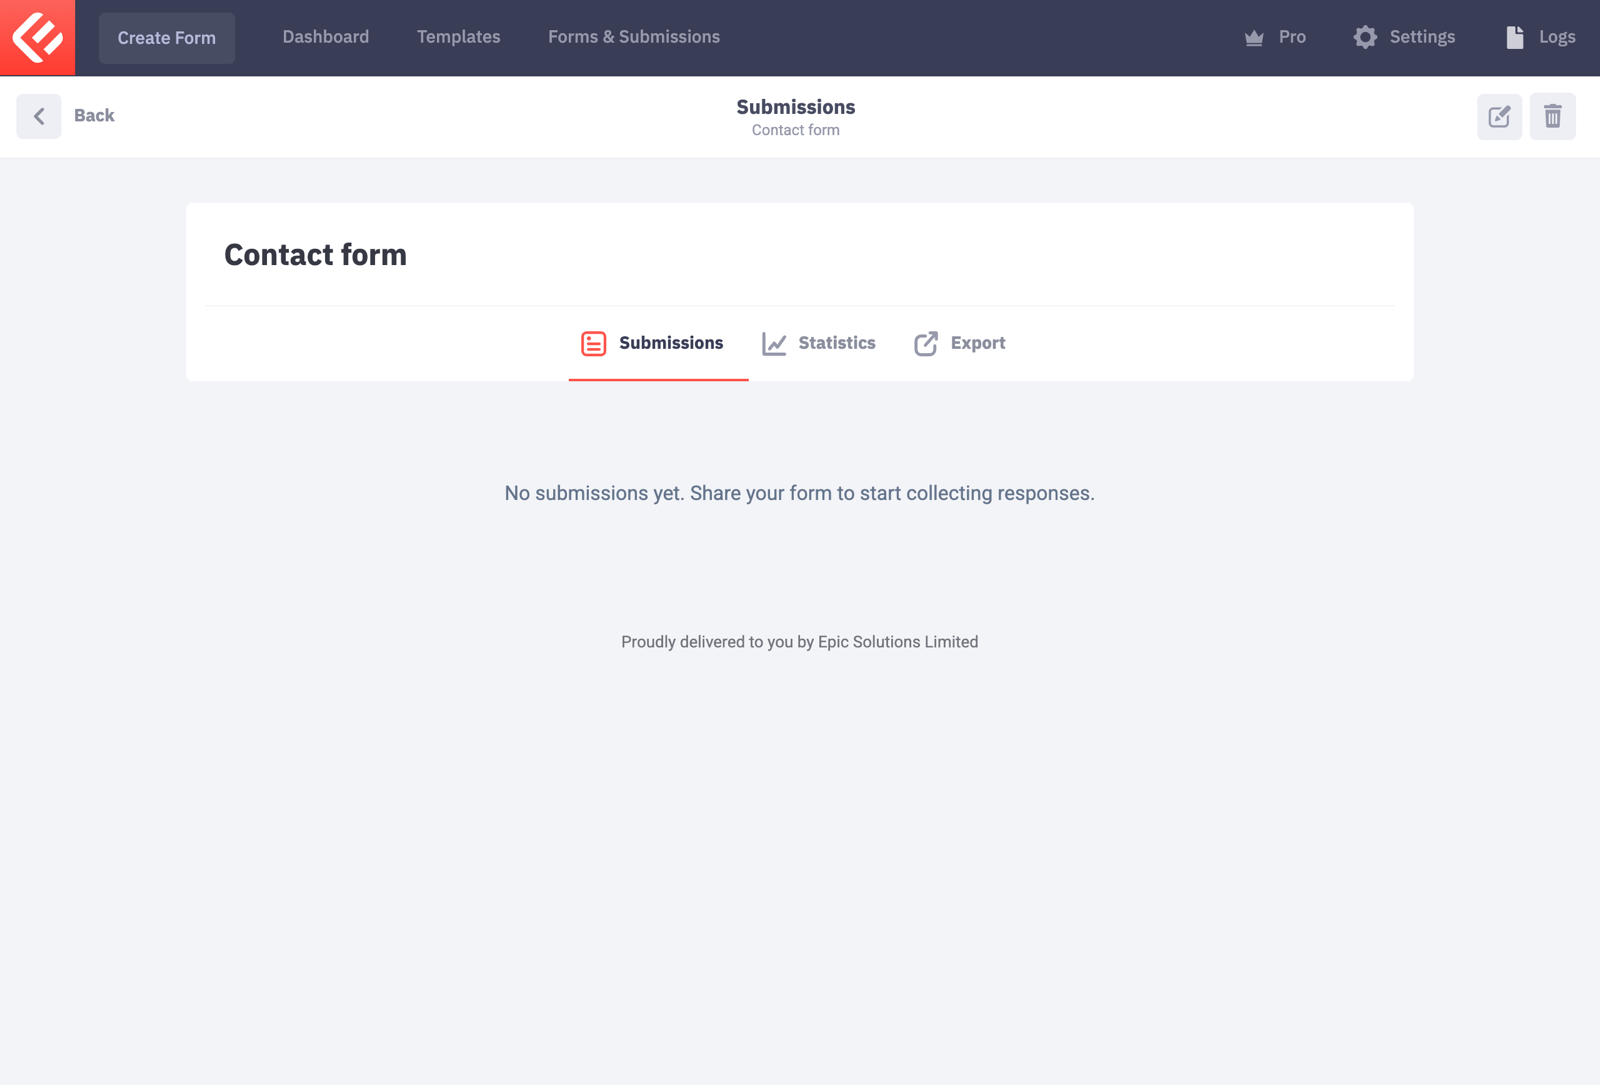
Open the page and fill in the form yourself to test it. Every submission appears in Epic Forms → Forms & Submissions under your form’s Submissions tab.
Tip: data tags work in email bodies. Subjects and the Success message are plain text.